What tools are needed to connect a qd cable?
Leave a message
As a QD cable supplier, I often get asked about the tools needed to connect a QD (Quick Disconnect) cable. In this blog post, I'll walk you through the essential tools and provide some tips on making the connection process as smooth as possible.
Understanding QD Cables
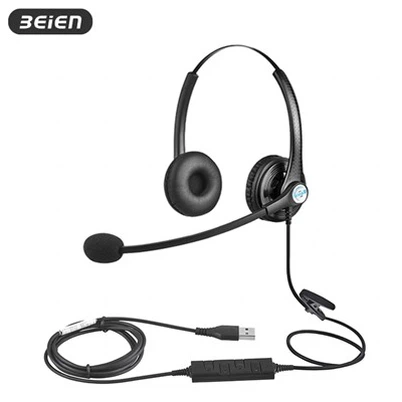
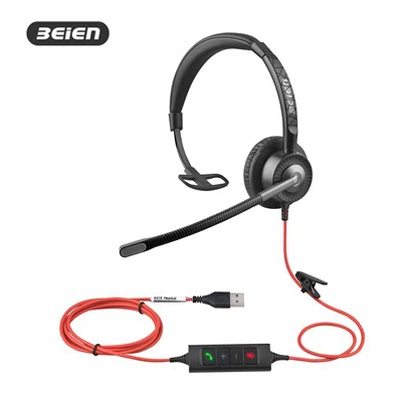
Before we dive into the tools, let's briefly understand what QD cables are. QD cables are designed for easy and quick connection and disconnection. They are commonly used in various applications, such as call center headsets, audio equipment, and industrial machinery. These cables come in different types and configurations, including Spring Wire GN QD To RJ9 Connector Cable, GN QD To 3.5MM Audio Jack Cable (4 - pin), and Call Center Headset Quick Disconnect QD Cable Headphones Accessories.


Essential Tools for Connecting QD Cables
1. Cable Strippers
Cable strippers are a must - have tool when working with QD cables. These cables typically have an outer insulation layer that needs to be removed to expose the inner conductors. A good cable stripper allows you to precisely remove the insulation without damaging the conductors inside. When choosing a cable stripper, look for one with adjustable blades to accommodate different cable sizes. You can find cable strippers in various price ranges, from basic models for home use to professional - grade ones for industrial applications.
2. Crimping Tool
A crimping tool is used to attach connectors to the stripped ends of the QD cable. The crimping process ensures a secure and reliable electrical connection between the cable conductors and the connector. There are different types of crimping tools available, depending on the type of connectors you are using. For example, if you are working with RJ9 connectors, you'll need a crimping tool specifically designed for RJ9 connectors. Make sure the crimping tool you choose is compatible with the size and type of connectors you'll be using.
3. Multimeter
A multimeter is an essential diagnostic tool when connecting QD cables. It allows you to test the continuity of the cable conductors, measure voltage, and check for any electrical faults. Before making the final connection, use the multimeter to ensure that the cable is functioning properly. This can save you a lot of time and frustration in case there are any issues with the cable. You can perform a simple continuity test by setting the multimeter to the appropriate mode and touching the probes to the ends of the cable conductors. If the multimeter beeps or shows a low resistance reading, it means the conductor is continuous.
4. Heat Gun (Optional but Useful)
If your QD cable has heat - shrink tubing, a heat gun can be a valuable tool. Heat - shrink tubing is used to provide insulation and protection to the connection points. After you've made the connection and placed the heat - shrink tubing over the joint, use the heat gun to shrink the tubing. The heat causes the tubing to shrink tightly around the connection, creating a waterproof and durable seal. Make sure to use the heat gun at a safe distance from the cable and tubing to avoid overheating and damaging the cable.
5. Tweezers
Tweezers can be very handy when working with small connectors and conductors. They allow you to precisely position the conductors inside the connectors and hold them in place during the crimping process. Tweezers are especially useful when dealing with delicate or fine - gauge cables. Look for tweezers with fine tips for better precision.
Step - by - Step Guide to Connecting QD Cables
Step 1: Prepare the Cable
First, use the cable strippers to remove a small section of the outer insulation from the end of the QD cable. Be careful not to cut too deep and damage the inner conductors. The length of the stripped section will depend on the type of connector you are using.
Step 2: Insert the Conductors into the Connector
Using the tweezers, carefully insert each conductor into the appropriate slot in the connector. Make sure the conductors are fully inserted and that there are no loose strands.
Step 3: Crimp the Connector
Place the connector with the inserted conductors into the crimping tool and squeeze the handles firmly. Apply enough pressure to ensure a proper crimp. The crimping tool should compress the connector onto the conductors, creating a secure connection.
Step 4: Test the Connection
Use the multimeter to test the continuity of the connection. If the multimeter shows a proper reading, it means the connection is successful. If not, you may need to re - crimp the connector or check for any loose conductors.
Step 5: Apply Heat - Shrink Tubing (if applicable)
If you are using heat - shrink tubing, slide it over the connection and use the heat gun to shrink it. Make sure the tubing covers the entire connection point.
Tips for a Successful Connection
- Read the Instructions: Always read the manufacturer's instructions for both the cable and the connectors. Different cables and connectors may have specific requirements and installation procedures.
- Practice on Scrap Cables: If you are new to working with QD cables, it's a good idea to practice on some scrap cables first. This will help you get familiar with the tools and the connection process.
- Keep Your Workspace Clean: A clean workspace reduces the risk of contamination and makes it easier to work with the cables and tools.
- Use Quality Tools and Materials: Investing in high - quality tools and cables will ensure a more reliable and long - lasting connection.
Conclusion
Connecting QD cables requires the right tools and a bit of patience. By using the essential tools mentioned above and following the step - by - step guide, you can make a secure and reliable connection. Whether you are a professional installer or a DIY enthusiast, having the right tools at your disposal will make the process much easier.
If you are in the market for high - quality QD cables or have any questions about the connection process, feel free to reach out to us. We are here to assist you with your QD cable needs and can provide you with more information on our products. Let's start a conversation about your procurement requirements and see how we can meet your needs.
References
- Electrical Wiring Handbook, various editions
- Manufacturer's manuals for QD cables and connectors